Propify Box Contents
Each Propify Hub will be delivered individually in its own Propify-branded box. This box includes all equipment that is necessary in order for the hub to successfully connect and operate. These items include:
- Propify Hub: This is the white box that acts as the device that can control any Z-Wave compatible products in the home.

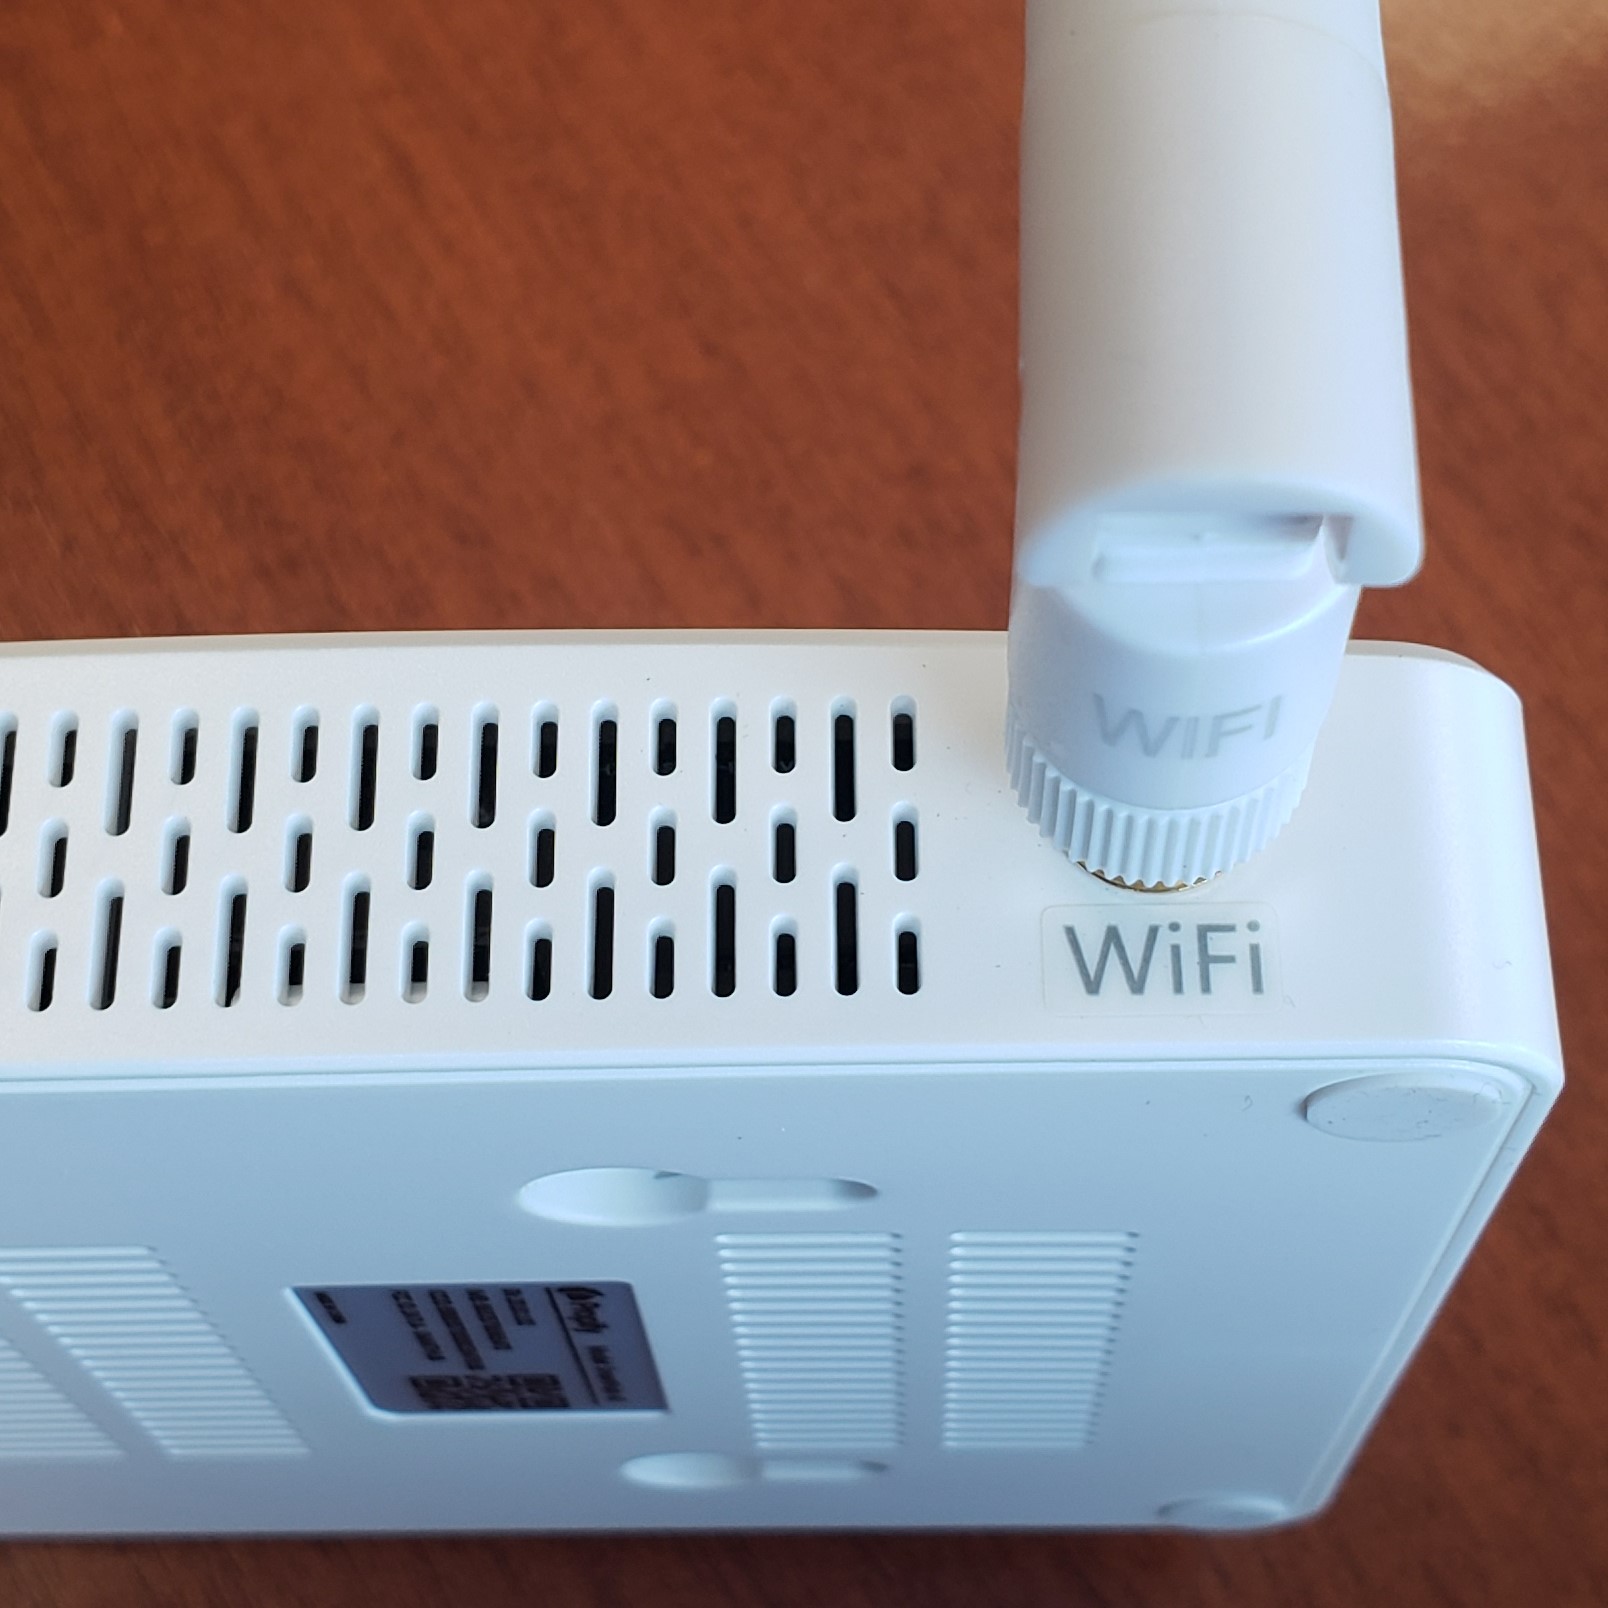
- WiFi Antenna: This rounded antenna is used for assisting in broadcasting a brief WiFi signal during the activation process. This antenna is labeled at the base. The hub port is also labeled so its correct placement can be easily determined.

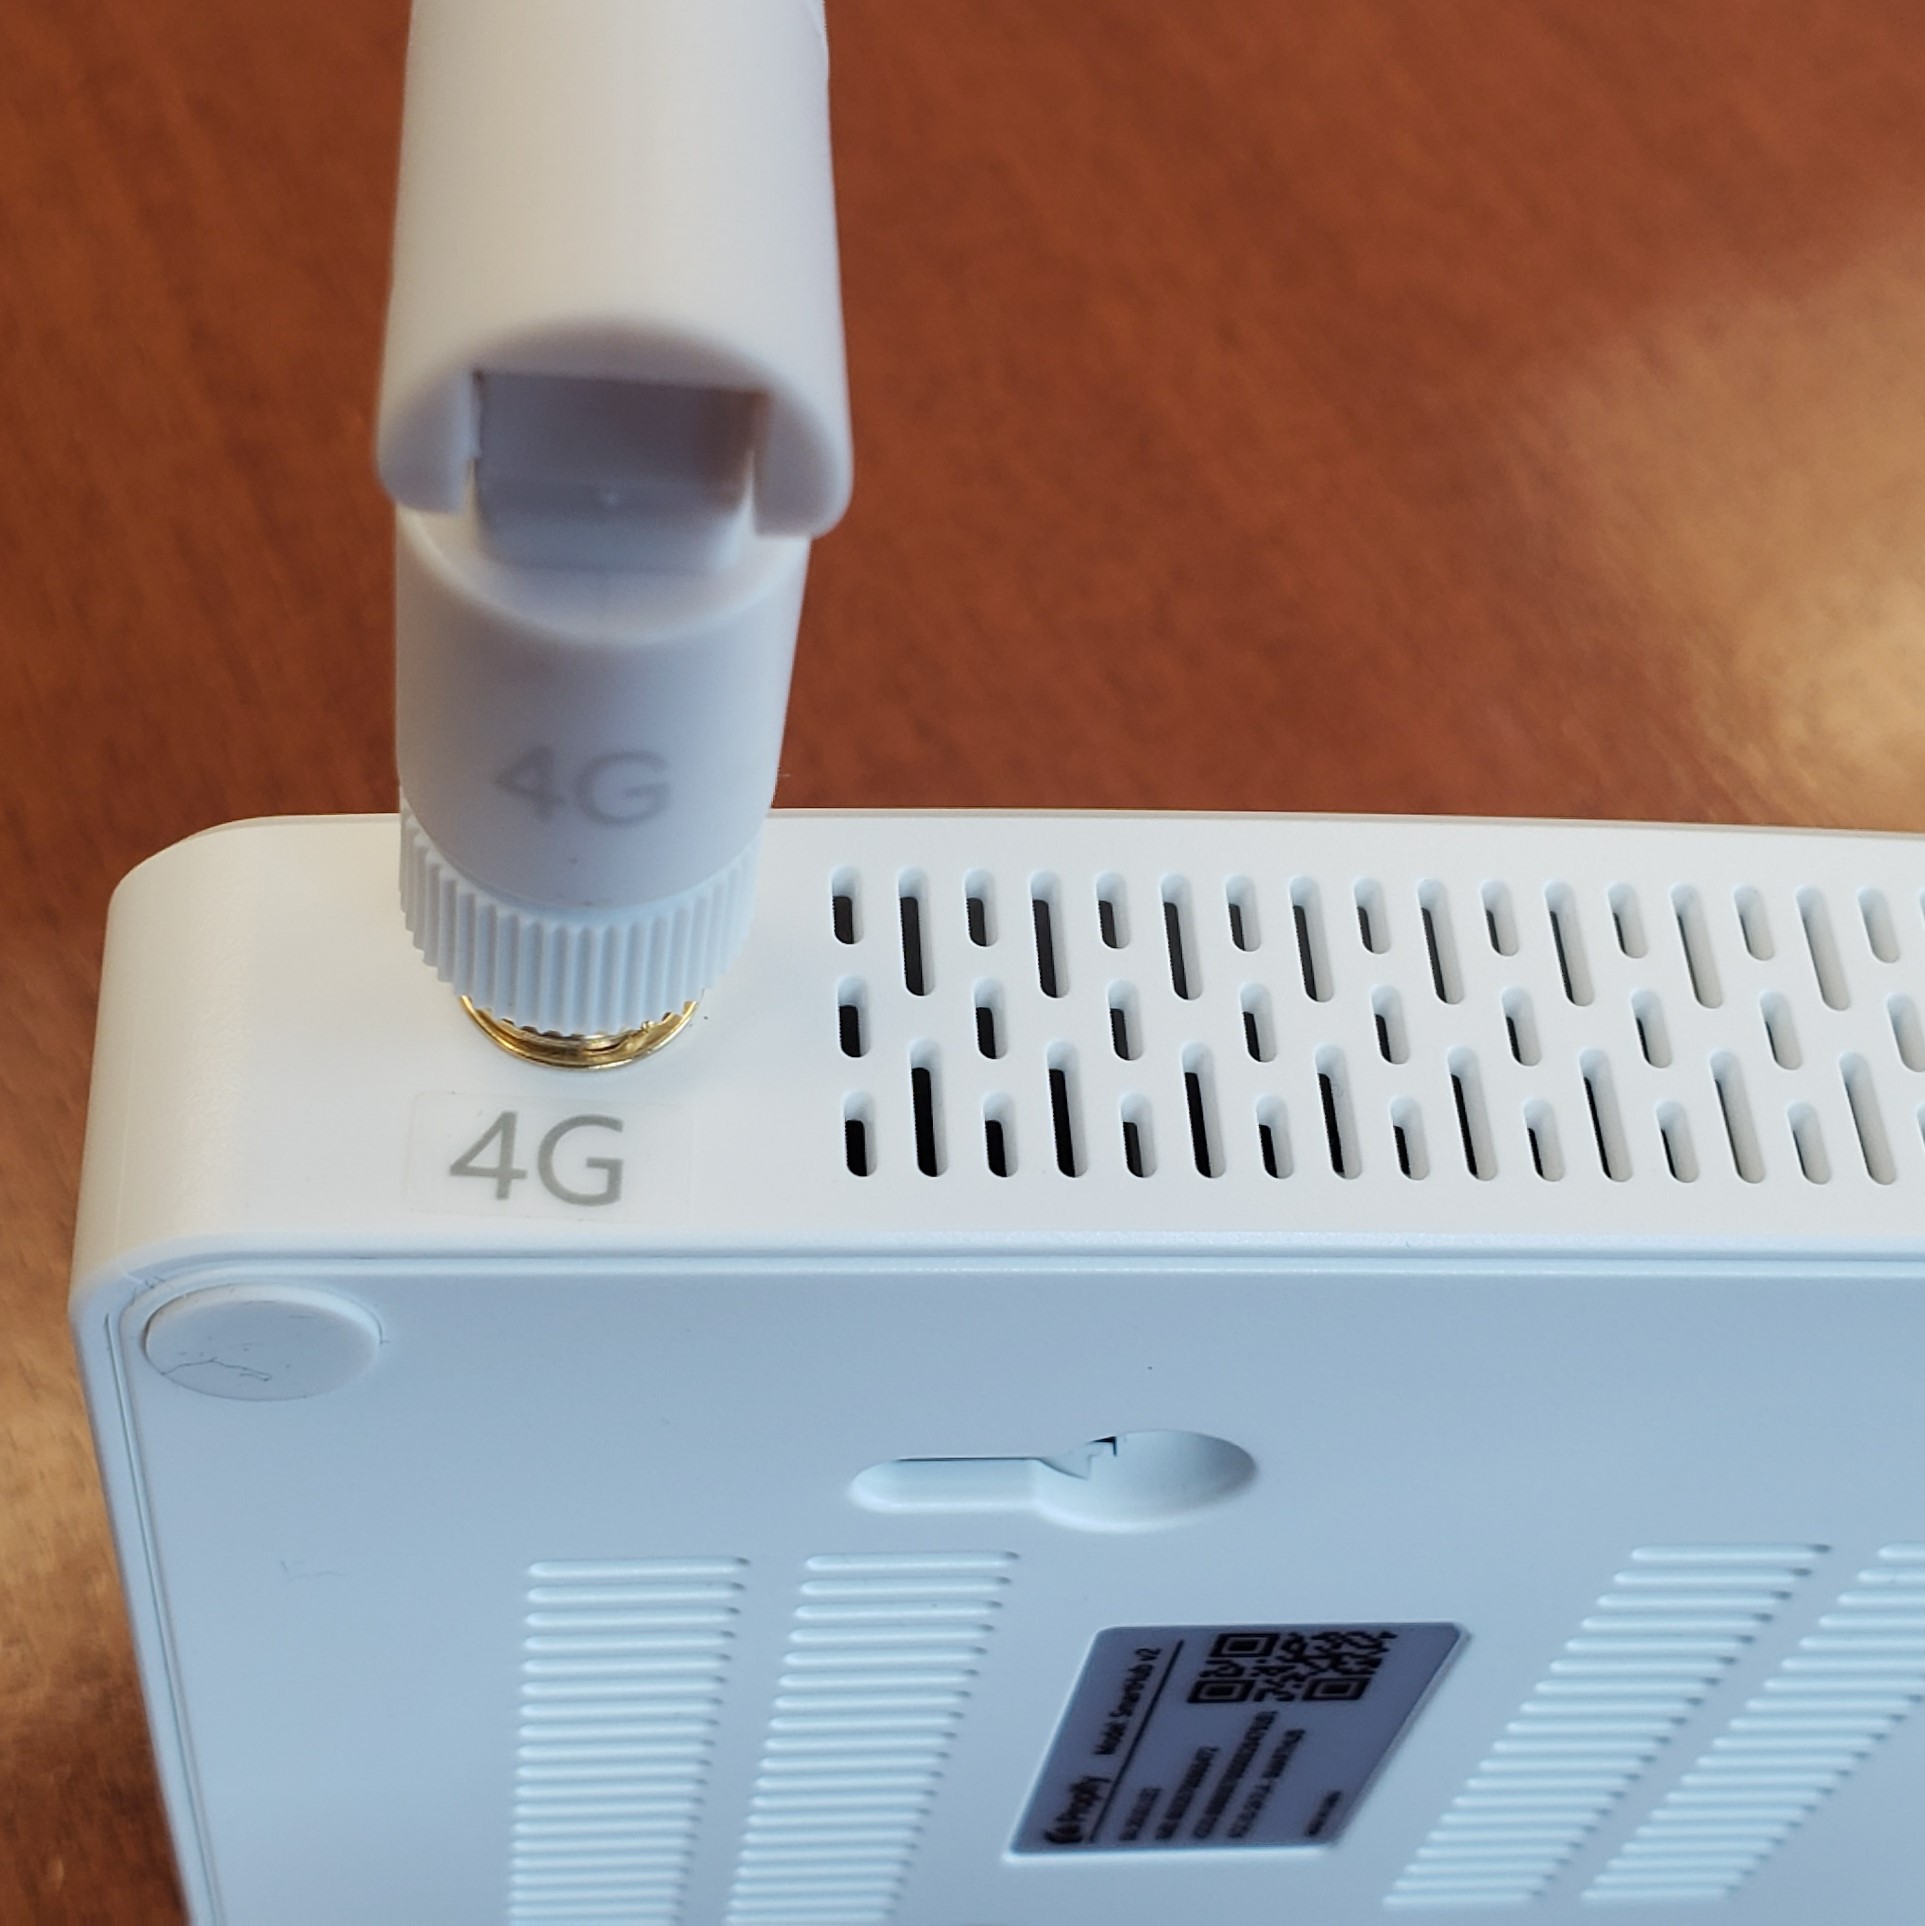
- 4G Antenna: This flat antenna is used to connect the hub to 4G cellular service in the area. The 4G cellular connection is what allows the Propify hub to connect to devices and operate appropriately.

Power Adapter: The power adapter is plugged into the power port on the back side of the hub itself. This supplies power to the hub.

- Wall Mount Screw Template: Once the hub is paired, this template is used to mount the Propify hub to the wall in the home.
- NOTE: Propify does NOT supply screws.

Propify Web Setup Postcard: This postcard supplies a QR code and link that will direct you to the Propify Smart Home activation and pairing webpage. Using your mobile device's camera, you may scan the QR code present on this post card to be re-directed to the pairing page. You may also Click Here to access the same page.

- Outside of the Propify packaging itself, you may have also received a pipe strap.
- If required by the Property Manager, this equipment is used for securing the Propify hub onto the wall when mounted.
Now, we can move on to Putting the Hub Together.
Putting the Hub Together
Now that you are familiar with the equipment provided by Propify, it is time to assemble the hub for activation. Please follow the steps below.
- Remove all of the items from the Propify box.
- Screw on each antenna to its corresponding side. Each antenna and antenna port is labeled with either 4G or WiFi to help distinguish where each antenna belongs.


- Plug the power cord into the power port, located on the back edge of the Hub.


- Plug the power cord adapter into a suitable outlet. The best outlet is one closest to the front door, which will help with receiving 4G cellular reception. If this is not feasible, use an outlet near a window in close proximity to the door.

- Wait for the two (2) LED lights on the hub to turn green. Do not continue to activating the hub until both lights are solid green.
- If the lights are not turning green Click Here.

Note: The location of the hub must receive adequate 4G signal AND keep close proximity to the supporting Smart Home devices.
- DO NOT plug the hub into an outlet in the kitchen.
- DO NOT leave the hub in a cabinet or on top of any kitchen appliances.
- DO NOT leave the hub laying on the ground.

Activating the Propify Hub
To begin, Click Here on your mobile device or scan the QR code that is shown on the Propify web setup postcard. This will direct you to the Propify Installation Guide, which provides a walk-through of activating the Propify Smart Hub and pairing smart devices.
Continue through the Propify Installation Guide welcome page.
Note: The Propify System Installation page displays a picture of an older model. This will be updated. Please reference the below photos of the latest Propify Smart Hub model.
Step 1: The current Propify Hub model does not have a battery switch. You are free to skip this step by pressing Continue on the Propify Installation Guide.
Step 2: If not done so already, plug the device into an outlet near the front door.
- If you did not plug the hub in while assembling the hub, please see step 4 in Putting the Hub Together.
- If the hub has been plugged in, make sure the lights are both solid green before continuing to step 3.
Step 3: Using your mobile device, scan the QR label code to identify the Hub that is being activated. This QR code can be found in two (2) places:
- The sticker on the bottom of the Hub.
- The sticker on the left side of the Propify box.

Once the QR label code is scanned, the hub serial number will automatically populate in the labeled field on your screen.
Once you confirm that serial number is correct, press Continue.
- IF you are directed to a screen titled "Select Unit", you may skip to Assigning a Property Address to Your Hub.
- IF you are directed to a screen that displays "Pair New Device" at the top, you make skip to Pairing Locks.
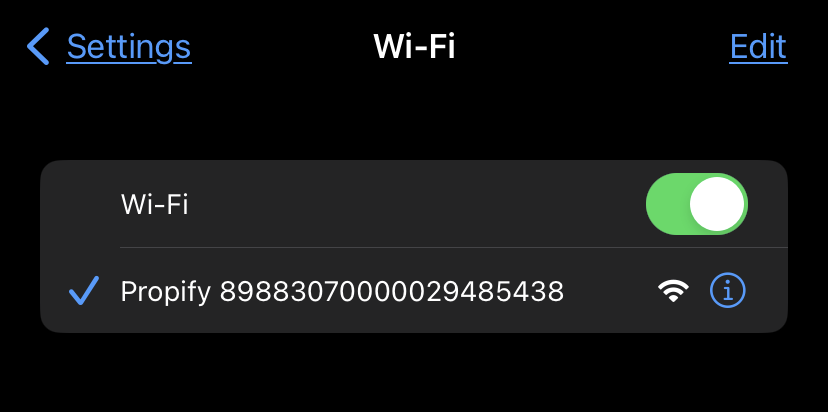
Step 4: Connect to the Propify WiFi on your mobile device. This can be done by viewing your mobile device's WiFi settings. Under available networks, you will see the name "Propify" followed by a 20 digit number.
Note: The Propify Installation Guide will display a different SSID and Password. You do NOT need to enter a password. Follow the instructions below.

Match this number to the ICCID number listed on the QR label code's sticker, which can be found on the bottom of the Propify Hub or the left side of the Propify box.

Once this number is confirmed as matching and the mobile device confirms it is connected to the WiFi, press Continue on the Propify Installation Guide.

IF you are directed to a screen titled "Select Unit", you may continue to Assigning a Property Address to Your Hub.

IF you are directed to a screen that displays "Pair New Device" at the top, you make skip to Pairing Locks.

IF you receive an error, close the page and re-attempt Steps 2-4. If you continue to have an issue, please contact the Propify Smart Home Team at 866-833-0449.
Assigning a Property Address to Your Hub
Once the Hub is activated, select the unit where the Hub is being installed. You can do so by clicking the Unit box and typing in the correct address. Select the address once you see it available in the unit options that become available in the search bar.
If the correct address is not populating, please contact the Property Manager.


Once this address is added and you press "Continue", you can move on to Pairing The Lock.